Dynamics 365 Portals: Create, Edit, Read-Only with Entity Lists & Forms
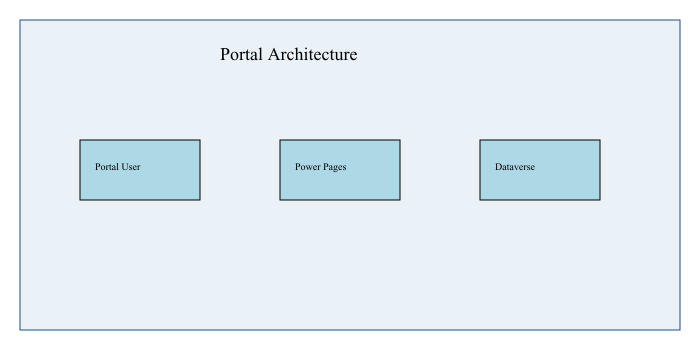
Dynamics 365 Portals, now known as Power Pages, provide a powerful way for organizations to securely share Dataverse data with external users. A common requirement is to present data in a way that allows for creation, modification, and simple viewing from a single interface. This guide will walk you through configuring Create, Edit, and Read-Only functionality using Entity Lists and Entity Forms within Power Pages.
Prerequisites
Before you begin, ensure you have the following in place:
- A functioning Power Pages Portal.
- A Dataverse table containing the data you wish to expose.
- Configured Entity Permissions for your Dataverse table.
- Appropriate Web Roles assigned to your portal users.
- Portal Management access, allowing you to modify portal configurations.
Business Scenario
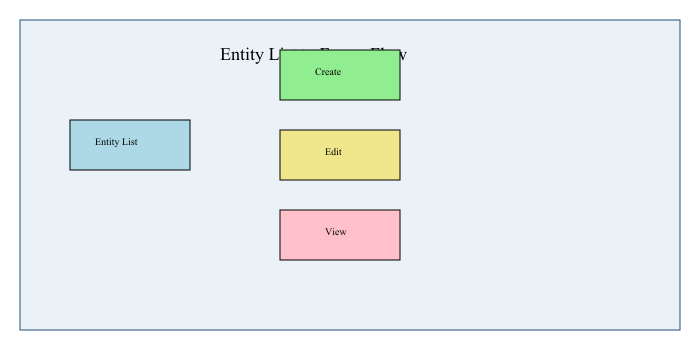
Imagine a scenario where users need to interact with a list of requests. They should be able to create new requests, edit their existing requests, and view other records without the ability to make modifications. This can all be achieved from a single, well-configured Entity List.
Implementation Steps
The process involves several key steps, from creating the necessary forms to configuring the entity list and permissions.
Step 1: Create an Entity List
An Entity List displays a list of records from a specified Dataverse table. You'll configure this list to link to the forms you'll create later.
Step 2: Create an Insert Entity Form
This form will be used for creating new records. Configure it with the necessary fields for new entries.
Step 3: Create an Edit Entity Form
This form is for modifying existing records. Ensure it includes all fields that users should be able to update.
Step 4: Create a Read-Only Entity Form
This form is designed purely for viewing records. All fields should be set to a read-only state.
Step 5: Create Web Pages
You will need to create separate web pages for each of these actions (Create, Edit, View) and associate the corresponding Entity Forms with them. For the Entity List itself, you'll also create a web page.
Step 6: Configure Entity List Actions
Within the Entity List configuration, you will define the actions that users can perform. This includes specifying which forms to use for creating new records, editing existing ones, and viewing details. Crucially, you'll link these actions to the respective forms and web pages created in the previous steps.
Step 7: Configure Entity Permissions
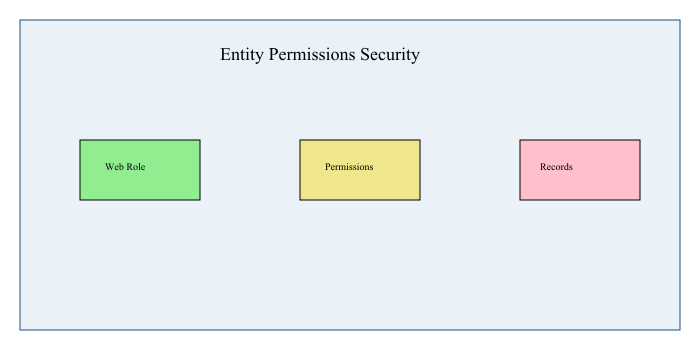
This is a critical step for security. You must configure Entity Permissions to control which web roles have access to create, read, and write operations on your Dataverse table. Ensure that users have the appropriate permissions assigned based on their web role.
Step 8: Test Create, Edit and View Operations
Thorough testing is essential. Log in as a user with the relevant web role and test the following:
- Create: Navigate to the Entity List and attempt to create a new record. Verify that the correct form appears and that you can submit new data.
- Edit: From the Entity List, attempt to edit an existing record. Confirm that the edit form opens and that you can successfully save changes.
- View: Attempt to view a record that you do not have edit permissions for, or specifically use the view functionality. Ensure the record displays correctly without any editable fields.
Common Issues and Solutions
Here are some common challenges you might encounter and how to resolve them:
Issue: Form opens as Read-Only when it should be editable.
Solution: This is often due to incorrect Entity Permissions. Verify that the web role associated with the user has 'Write' permissions enabled for the specific table and the 'Edit' action on the Entity List is correctly configured to use the editable form. Also, double-check the 'Form Mode' setting in the Entity Form configuration.
Issue: Record not found when trying to edit or view.
Solution: This typically points to an issue with how the record identifier is being passed. Check the querystring parameter mapping in your Entity List and Entity Form configurations. Ensure that the correct ID column is being used to link the list item to the form.
Best Practices
To ensure a robust and secure implementation, consider these best practices:
- Use Separate Forms: Always create distinct Entity Forms for Create, Edit, and View operations. This simplifies configuration and enhances security.
- Implement Least Privilege: Grant only the necessary permissions to users. Avoid granting excessive access that could lead to data breaches.
- Validate Portal Security: Regularly review and validate your Entity Permissions and Web Role assignments to ensure they align with your security policies.
By following these steps and best practices, you can effectively configure Create, Edit, and Read-Only functionality within your Dynamics 365 Portals, providing a seamless and secure experience for your external users.