
SharePoint A login screen acts as a barrier between the content of your application and unauthorized users. With the help of a logging screen, you can have control over access and sensitive information and maintain the integrity of the application by making users authenticate them.
Let’s get started with creating a login screen in PowerApps.
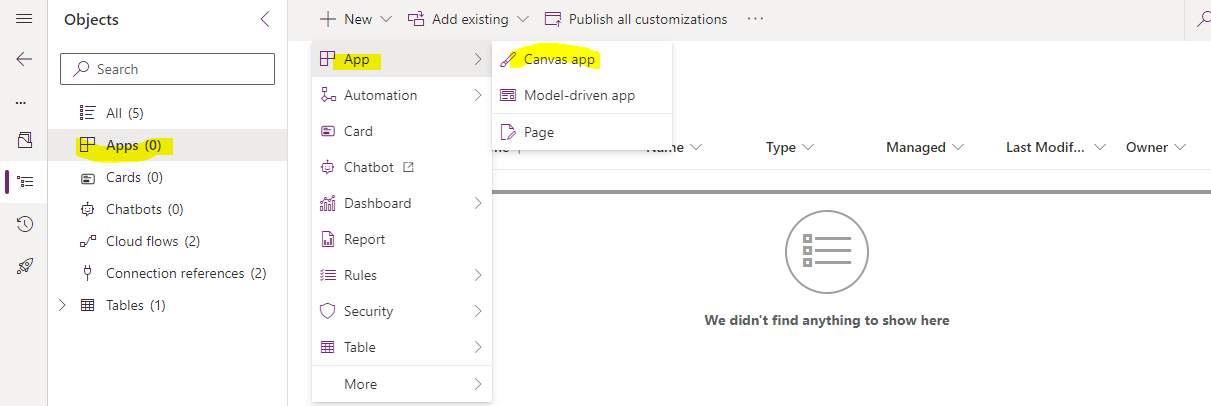
Step 1. Create a New App
Log in to PowerApps and navigate to the ‘Apps’ section.
Click on ‘Create an app’ and choose the ‘Canvas app from blank’ option.
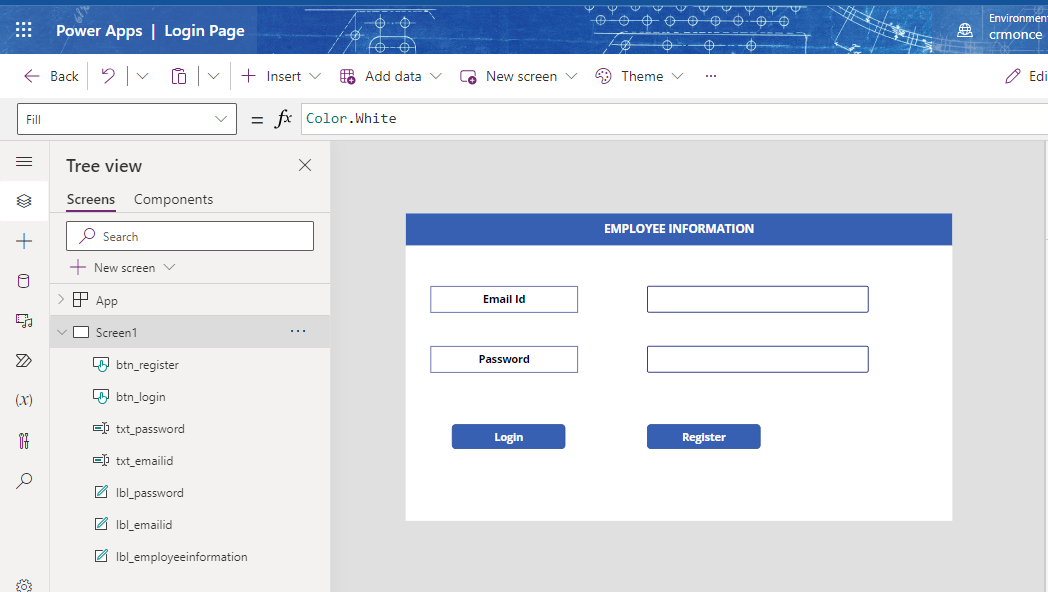
Step 2. Design the User Interface
Once the new app is created, you can open the app using PowerApps Studio.
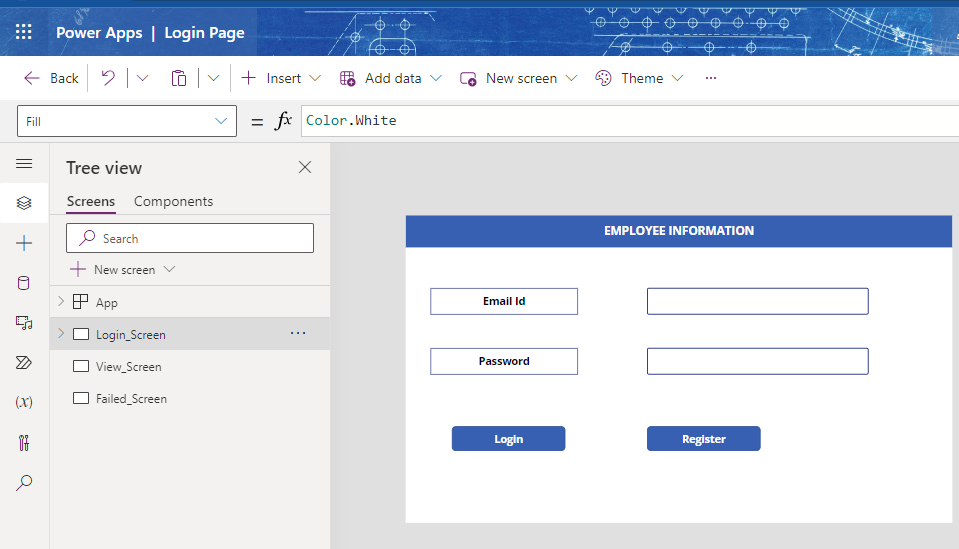
Design the login screen interface by adding two text labels and text input boxes, two input fields for ‘Email ID and ‘Password along with ‘Login’ and ‘Register’ buttons.
As shown in the below screen.
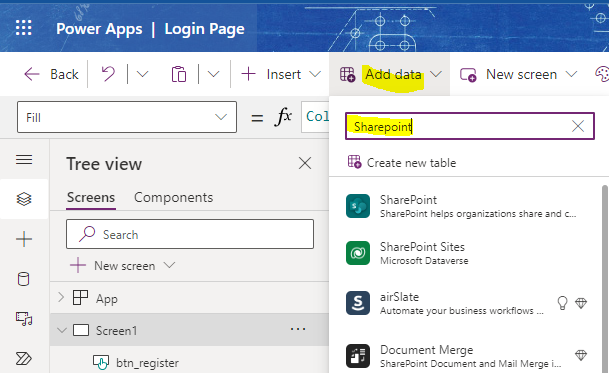
Step 3. Connect to the Data Source
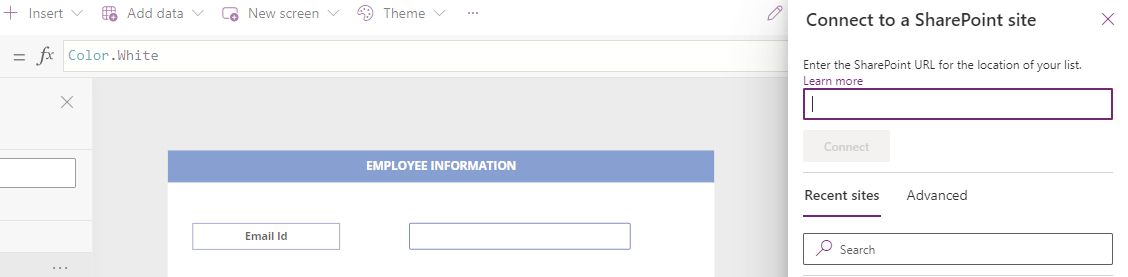
Go to the ‘Add Data’ tab and add data and search for SharePoint, then click on Add a connection as shown in the below screens.
Then we need select the Connect directly (Cloud services)
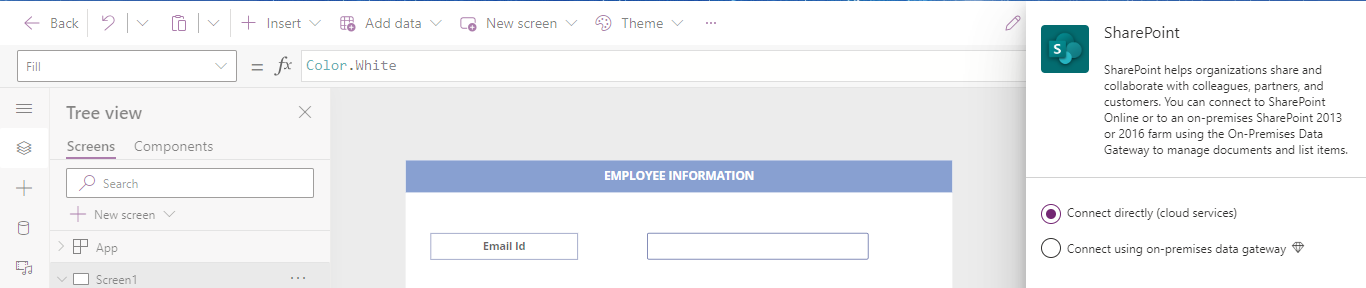
We can pass the SharePoint URL of the list (0r) we can search with the Sites Name
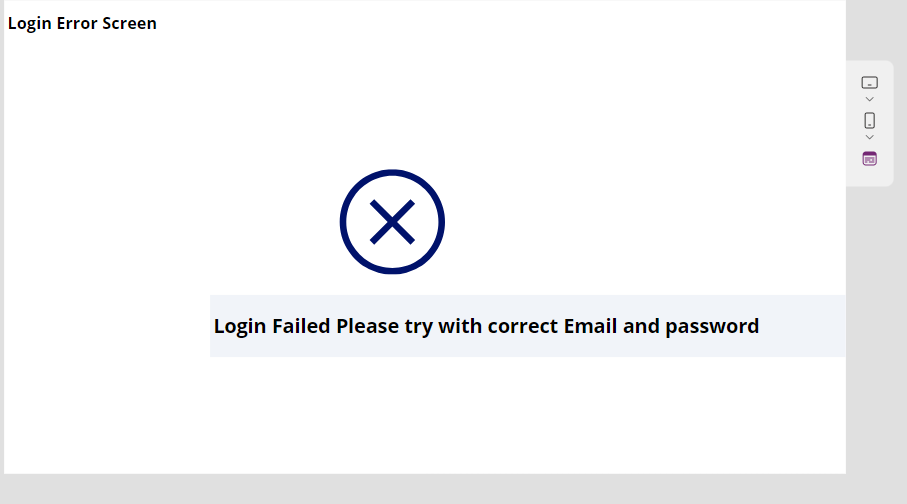
We need to create two screen one is View screen and another screen is Failed screen
Step 4. Validate User Credentials
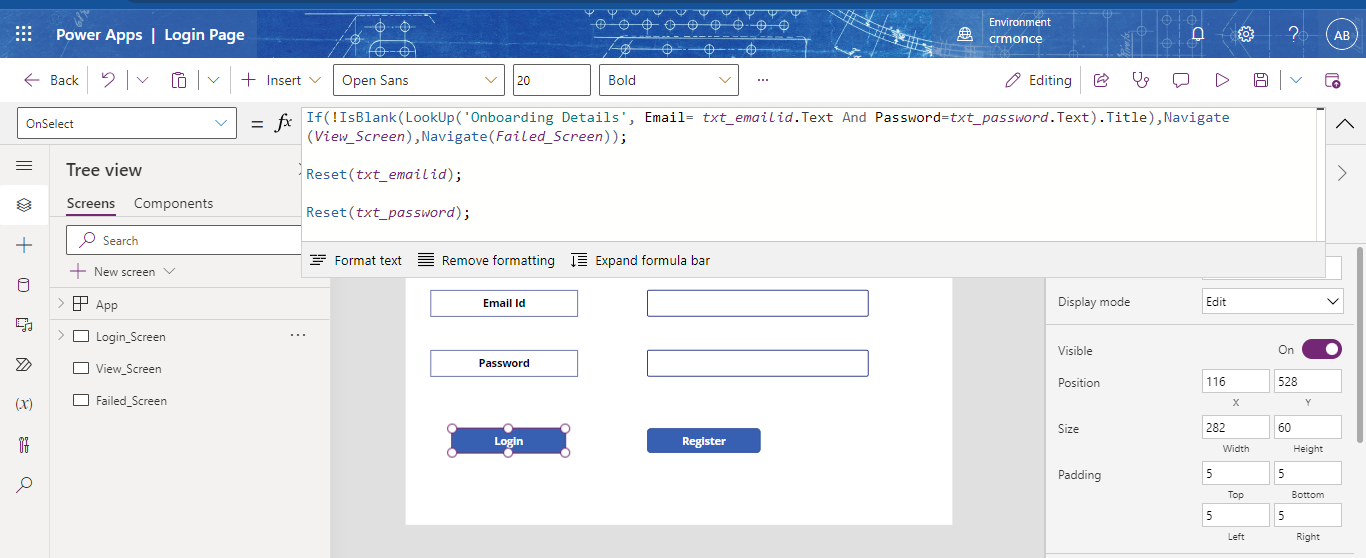
Double-click on the ‘Login’ button to open the formula bar.
Use the Lookup function to check if the entered username and password exist in your data source. The formula look like.
Step 5. Handle Navigation
If the credentials are valid, navigate the user to your app’s main screen. Otherwise, navigate the user to the error screen.
We have started a new online retail store ![]() Please Visit.
Please Visit.