
In this Power Apps Tutorial, we will discuss what is the Power Apps Search function, it’s syntax, how to use the Power Apps search function in a canvas app. We will see how to apply a search box in Power Apps.
We will also see how to search for items from the Data Vase Account Entity using the Power Apps search function.
Also, We will see how to use the Search function in a Vertical Gallery Control and how can you do multiple searches.
Please follow the below screens.
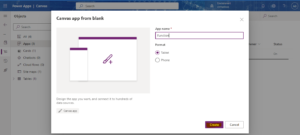
Step 1. Click on Create app à Give app name based on your requirement and click on Create.
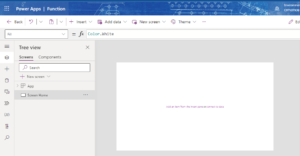
Rename first screen as main screen it will be easy to understand.
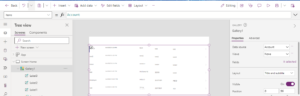
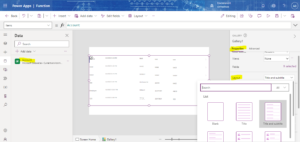
In the below screenshot, you can see all the records are retrieved from the Account entity. Here, your Item property should be your Account Entity name (‘Account ‘).
Select the Gallery and go to the Properties pane. Select the Layout as “Name, Address “. Edit the fields and add the columns as per your choice.
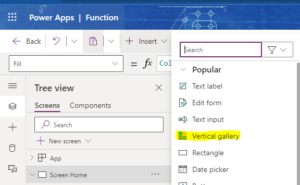
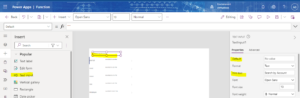
Now to search the fields from the PowerApps vertical gallery, we need to add a search bar on the top of the Gallery. For that, go to Insert -> Text -> Add Text Input as shown below.
The Text input control will insert and it will show the default value as Text. Just remove the Default value and in Hint Text give as “Search by Account” as shown in below screen.
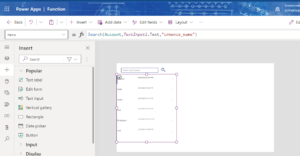
Select the Vertical Gallery control and apply the below Search function formula on its Items property.
Items = Search(Account,TextInput1.Text,”crmonce_name”)
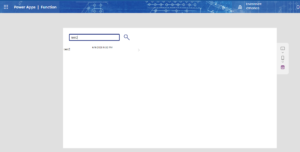
Here the output of the search box:-
We have started a new online retail store ![]() Please Visit.
Please Visit.